Multicam2
The Angle Editor
Once you’ve created the multicam clip, it appears in the Event Browser with the little quad split icon in the upper left corner. This icon will appear in the browser, on the clip in the Timeline, and also in the Angle Viewer and Angle Editor.
Multicam Clip in the Event Browser
You can double-click it open it into the Timeline panel in what it’s called the Angle Editor. To see how your multicam clip looks, open the Angle Viewer. Open the Angle Viewer with Shift-Command-7 or from the Window menu or from the View popup in the upper right of the Viewer.
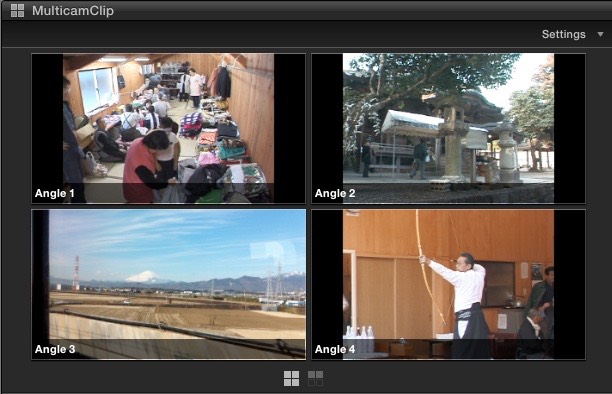
Angle Viewer
In the Angle Editor, you will see all the clips in the multicam clip stacked on top of each other. This is where the new clip skimmer is very useful. Activate it from the View menu or with Option-Command-S. This allows you to skim each clip separately and to hear the audio from each clip separately. You can also select which angle of video and audio you want to see in the Viewer. To do this you use the buttons at the beginning of the lanes. If you are using the clip skimmer on an angle Shift-V will select that angle for video monitoring. The angle with video selected will appear in light gray. The audio monitor is highlighted to show which audio is being monitored. Shift-A on an angle that is being skimmed will toggle audio monitoring on and off. You can only video monitor one angle, but you can audio monitor as many or as few angles at a time as you wish.
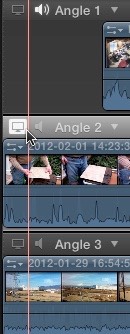
Selecting Video and Audio Monitoring in the Angle Editor
To check audio sync from multiple angles, turn on audio monitoring for a pair of angles or more and listen to the audio. You can toggle all the angles to a single angle by Option-clicking on one of the speakers at the head of the track. If there’s an echo they’re out of sync. Slip the clips in the lanes as needed to sync the audio precisely. You can move the clip in the lane with the Position tool, and remember you can nudge the clips left and right along the lanes with the comma and period keys.
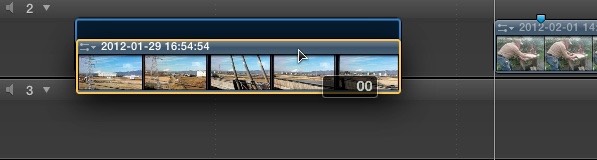
You can rename an angle in the Angle Editor by double-clicking on the name in the lane. That will not change the clip name, but will change the name in the Angle Viewer.
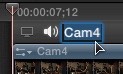
Changing Angle Name
To change the the order of the clips, grab the handle icon that appears at the end of the lane and drag the angle up or down in the lanes. This is especially useful if you’re working with a music clip for instance that has no video. You can drag the music to the bottom of the stack order so it’s out of the way.
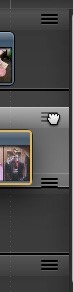
Grab Handles
In addition to reordering clips, you can also combine clips that might be synced on separate angles into a single angle. Simply grab the clip, and using the Position tool, hold the Shift key drag it vertically so it drops into another angle. This will overwrite whatever’s in the angle so be careful how you use this feature. This feature is great for cameras that stop and start as all the clips from a single camera can be combined in a single angle.
Combining Angles
This is useful if you were not able to combine the clips into a single angle using FCP’s Angle Assembly function, where you can set to combine the angles using the various criteria we saw earlier.
You can add another angle to the multicam clip by clicking on the drop-down menu at the head of each clip and selecting Add Angle.
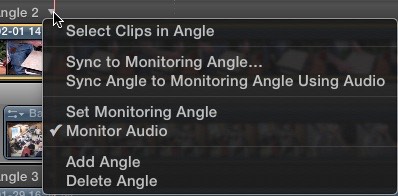
Add Angle
An empty lane is created into which you can drag any clip you want. You can drag the clip up and down the Timeline to adjust its sync. Notice the other items that appear in the drop-down menu, especially Sync Angle to Monitoring Angle Using Audio. This allows you to select an angle to which to sync your added clip. Turn on monitoring for the angle you want to sync to and in the added angle’s drop-down select Sync Angle to Monitoring Angle Using Audio.
Normally you use video clips, but you can add graphics files, stills, audio, generators, pretty much any kind of a clip, including unrelated, non-sync clips like B-roll, that you might want to switch to in your multicam edit. Remember you can 64 angles in the multicam clip and can view and 16 at a time.
You can also disable clips in the Angle Editor; simply press the V key just as in the project timeline.
Multicam clips have a parent/child relationship. This is different from other clips you edit from the Event Browser into the Timeline. Normally any clip edited into the Timeline takes the browser clip’s properties and settings, but once it’s in the Timeline, it is completely independent. In the multicam clip any changes made in the Angle Editor in one clip, whether it comes from the browser or the project, is applied to all instances that uses that multicam clip. Whether its color correction, sync adjustment, trimming, they will apply to all instances of the multicam clip in any project and to the multicam clip in the Event Browser. Color correction and other effects applied in the project will not effect the master multicam clip in the Event Browser, but any changes made in the Angle Editor will effect everything. On the other hand doing color correction in the Angle Editor has the advantage that every instance of a shot used will be color corrected the same.
Copyright © 2013 South Coast Productions