Converting Using MPEG Streamclip
“How do I convert my footage using MPEG Streamclip?"
Streamclip lets you convert to many different formats. When working with Final Cut Pro you should use Compressor rather than Streamclip if possible. When working with Final Cut Express, here’s basically what you need to do. First, open your video into Streamclip with the File>Open Files function. If you have a number of files to do you can use Streamclip’s batch function which is under List>Batch List (Cmd-B). Then follow the directions below.
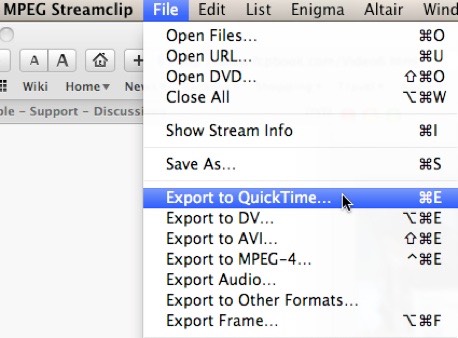
To convert a single file use File>Export to QuickTime (Cmd-E). Do NOT convert to DV Stream.

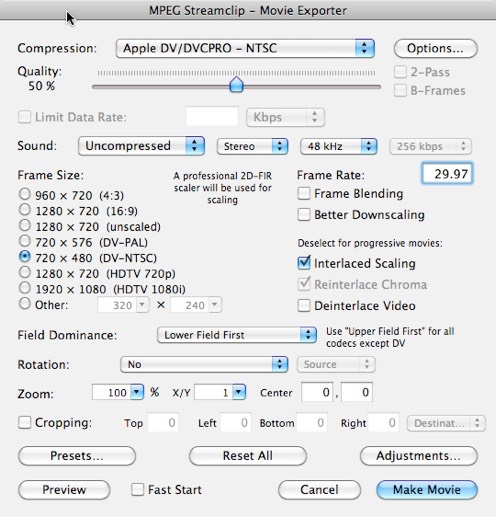
The export module gives you many different options of frame resolution and compression algorithm. Select the frame size first. For standard definition DV NTSC select 720x480.
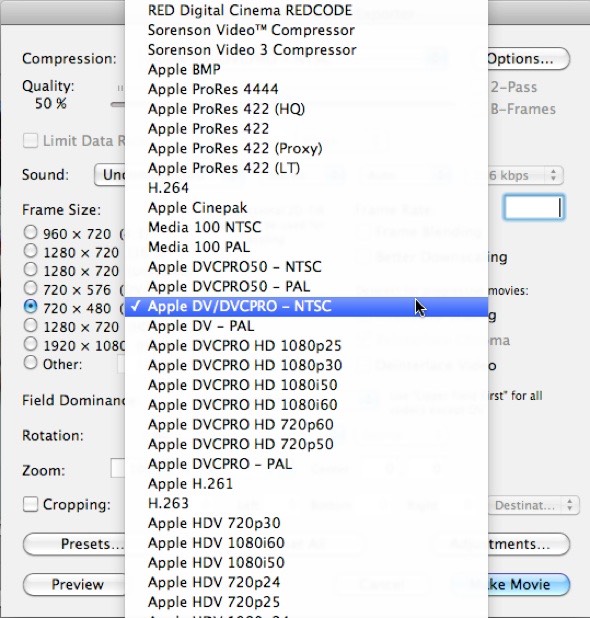
Under Compression. Pick the codec.

For Final Cut Express standard definition you select either Apple DV/DVCPRO NTSC or Apple DV PAL. You can also convert to DV50 for higher quality in Final Cut Pro, or one of the ProRes codecs. For HD The DVCPRO HD codecs are excellent for FCP as well.
Next you select the frame rate and the audio. The standard frame rate for NTSC is 29.97 and for PAL is 25. The sound should be set to Uncompressed Stereo 48kHz.

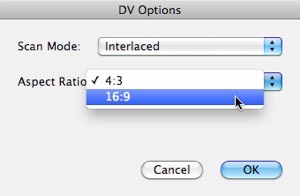
If your material is anamorphic. Click the Option button next to Compression and select 16:9 from the popup.

Click Make Movie and select your media drive as the destination for your converted file. If you’re capturing other media, you might want to put this in the Capture Scratch folder for your project.
Copyright © 2011 South Coast Productions