Exporting Still Images from Final Cut
“How do I export still images from Final Cut for the web or for printing?"
To export from Final Cut begin my putting the playhead either in the Timeline or in the Viewer on the frame you want to export, then use File>Export>QuickTime Conversion.
In the QuickTime Conversion dialog change the Format popup to Still Image.
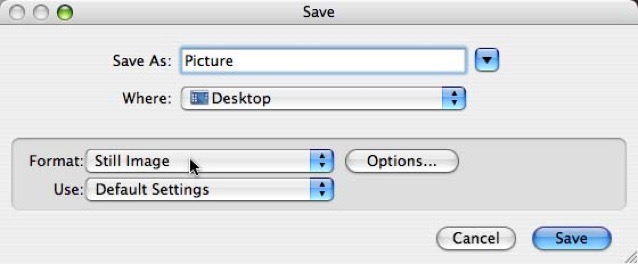
Click on Options to choose a format. I usually use Photoshop because the exported image isn't yet ready for distribution and will need work in that application to prepare.
Open the file in Photoshop and first remove any interlacing. If the image had fast motion in it you'll see combing where the file is interlaced. Rather than deinterlacing the whole image I draw a selection with the Lasso tool around the interlacing, feather it and then apply Filter>Video>De-Interlace. Pick Even or Odd, each will produce a slightly different result, usually one field will have less motion blur than the other. Leave Interpolation as the preference.
Next you'll have to resize the image to convert from rectangular pixels to square pixels. Use Image>Image Size and switch off constrain proportions.
For DV NTSC material resize to 640x480.
For SD NTSC material resize to 648x486.
For DV NTSC anamorphic resize to 853x480
For SD NTSC anamorphic resize to 853x486
For DV PAL material resize to 768x576
For DV PAL anamorphic resize to 1024x576
For 1080i HDV material resize to 1920x1080
For 720p HDV material resize to 1280x720
For uncompressed HD no resizing is needed
Once the image has been resize to the correct proportions it can be saved for the web, probably to JPEG with a lot of compression.
If you're going to print you have to appreciate that the video still image has a print resolution of 72dpi, which is pretty low for high quality print purposes. At reduced sizes it might work fine, but at full size the quality is not very good.
Copyright © 2006 South Coast Productions